

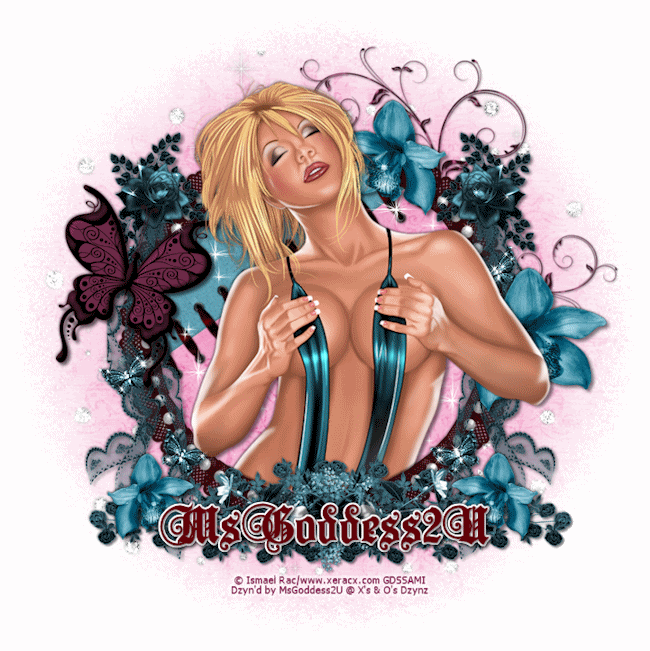
I wrote this tutorial using PSPX2 and Animation Shop3
I am using a gorgeous tube by Ismael Rac; you must have a license to use his art work. Unfortunately this tube is no longer available but you can find many others at his site here
I am addicted to Tamie’s kits and the one I am using definitely live up to its name, Lovely, and you can purchase it at Dreams-N-Digital
Mask is by Tonya and it is called TonyaGrunge1-vi; it is in the Grunge mask pack at Creative Misfits
Plugin used:
Xenofex 2 / Contellation
Font used:
Black Swan
**c&p=Copy and Paste As New Layer
**When working with duplicate layers, I always refer to them as 1st, 2nd, 3rd…from the bottom up
Open New Raster 750 X 750, Transparent

Flood Fill with white
p12: c&p, resize 107%
Open your mask and minimize. Right click on your paper layer and select New Mask Layer>From Image

With your mask layer still activated, use your pick tool to bring the edges in a bit on all sides. Right click, Merge>Merge Group
Frame: c&p, resize 90%, using your lasso set on add, select the parts of the bow that are sticking out from the main part of the frame and hit delete on the keyboard. (don’t worry about a clean cut, we are going to put a flower over it;)

Tube: c&p, Mirror, Resize to your liking (I resized mine by 85%) position to liking
Frame Background
Activate your mask layer, c&p p9, c&p 912, Rotate 55o Right; c&p eyeletribbon, Rotate 55o Right, Resize 65%; postion the eyeletribbon to liking, line up the edge or p12 in the middle of the ribbon, Sparkles2:c&p move to one side, within the frame, Duplicate, Mirror and position to liking, Merge Down.
Activate your frame layer and, with your magic wand, click in the transparent center, expand selection by 2 and Invert. Activate thespakles layer and hit Delete on the keyboard and repeat for the eyeletribbon layer and both of the paper layers, Select None
Décor: c&p, position to one side of the frame, Adjust>Brightness and Contrast>Brighnesss/Contrast> Brightness: 25, Contrast 20, Duplicate, Mirror, and Position
Butterfly 75%
Roses: c&p, position at the bottom of your frame
Flower4: c&p, Desaturate
Manual Color Correction Source: #dcdcdc, Target: #dcdcdc,
Duplicate 2X; Resize 1st layer 50%, 2nd layer 40% and 3rd layer 30%.
Arrange your 1st one below your tube layer and position behind elbow, or over the area that we cut the bow off of; Mirror your 2nd layer and position to your liking; Arrange the 3rd layer above the roses layer, if it isn’t already there, and position to the left of the roses, Duplicate and Mirror
Doodle: Rotate 45o Right, Resize 80%, arrange just above your mask layer and position to the top right of the frame
Diamonds: c&p position to one side, Duplicate, Mirror and Flip, I erased some of the diamonds and copied and pasted others til I had what I wanted and then merged my diamonds layers together. I added a dope shadow to them to make them stand out a little more...this is the only layer that we are going to animate so you want to make sure that your shadow is on a new layer…this is the shadow settings that I used
Name: Type out the name, Duplicate and hide the first name layer and Convert the 2nd name layer to a Raster. Select>All, Select>Float, Select>Defloat, Expand Selection by 2. Open a New Raster Layer below your name layer and flood fill with white. Select the name layer again and add a Drop Shadow to it with these settings
Add the copyright and your license number and any other credits.
Add Drop Shadows to your liking
Merge all the layers below your diamonds layer and all the layers above your diamonds layer (not including the name layers if you are saving as a WWO)
Duplicate these layer 2X so that you have 3 groups of 3 layers
Activate your first diamond layer and, using your Magic Wand with these settings

Select your diamonds and apply Constellation with these settings

Clicking on Random seed for the 2nd and 3rd layers
Change your magic wand settings to these

And select random areas of the small butterflies and apply Constellation with these settings

Clicking on Random seed for the 2nd and 3rd layers
I decided it looked off balance so I went back and selected random areas around the top of the image with the same settings with my Magic Wand and applied Constellation with the same settings and following the same steps as before.
This is where I crop it and save as a .psp for WWO’s
Merge your name layers and corresponding Drop Shadows and Duplicate 2X and Merge Down onto each of your images.
Resize to your liking. Save as a .psd or a .psp(animation shop) and open in Animation Shop 3 or copy your 1st layer and Paste As New Animation, in AS3, Copy your second layer and Paste After Current Frame and repeat for the 3rd layer.
Select All (Ctrl+A), Frame Properties (Alt+Enter)=13, Optimize (Shift+Z)
©X's & O's Dzynz and Tutorials
This Tutorial was written in April, 2011 by me, MsGoddess2U, and the concept of the tutorial is copyrighted.
See my TOU for further details
See my TOU for further details
No comments:
Post a Comment