

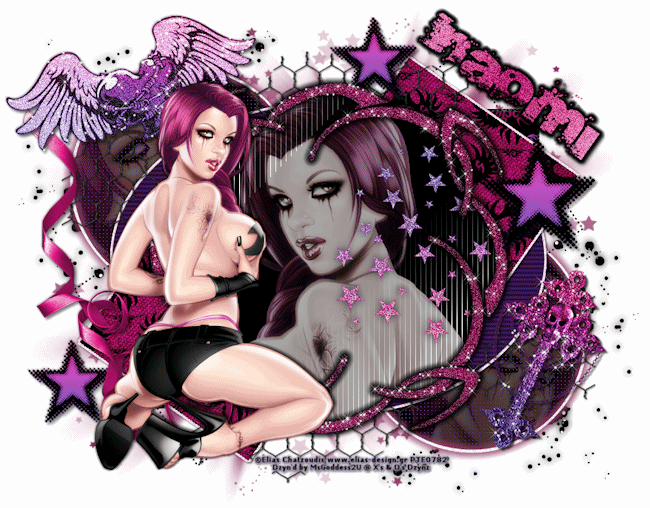
PTU-Goth Beauty
Inspired by one of my Divas, KCG200073
I wrote this tutorial using PSPX2 and Animation Shop3
I used the awesome art work of Elias Chatzoudis. You must have a license to use his art and you can purchase his work and obtain your license at PTE
PTU Kit: I am using another rocking kit by Tamie, called Tattoo, and you can purchase it at Dreams-n-Digital
Template used was Template 161 made by Kristin at Toxic Desirez
Don’t forget to leave her some love for sharing ;)
Plugins Used:
Tramages / Tow The Line
Dsb flux / Bright Noise
Eye Candy 4000 / Gradient Glow
Xenofex 2 / Constellation
Xero / Porcelain & Radiance
Font used:
A bite
**c&p=Copy and Paste As New Layer
**When working with duplicate layers, I always refer to them as 1st, 2nd, 3rd…from the bottom up
Ready...Set...Let's Begin;)
Open the template and Duplicate (Shift+D) and close the original. Resize your canvas: Adjust> Canvas Size *note that Lock aspect ratio in unmarked choose center under Placement

Delete Credits, Skull, Circle1 and Circle2, Glitter Stars, Right and Left Glitter Circles and arrange the right and left circles above the rectangle, change color of Right and Left Circles to a color of your choice.
CU: c&p, Duplicate 2X (hide one for now) and position the 2 visible ones to your liking over each circle (I rotated and mirrored to get the look I wanted) Activate one of your small circle layers, Select>All, Select>Float, Select>Defloat, Select>Invert, activate your CU and hit delete on keyboard; repeat for the other circle and CU; Select>Select None.
Apply Xero Porcelain with these settings to both CU’s

Change Blend Mode to Difference on both; Opacity: 30% on the bottom right one, 40% on the top left one
Activate Right Circle; Select>All, Select>Float, Select>Defloat, Select>Modify>Select Selection Borders: Select Both sides, check the Anti-alias box and Border width = 2. Activate your CU layer, open New Raster Layer, Flood fill selection with white and add dsb flux>Bright Noise to your liking…I think I used 45 & Mix. Apply Gradient Glow with a color of your choice and these settings

Repeat these steps for the Left Circle
Activate the remaining Glitter Circle and Select>All, Select>Float, Select>Defloat, open New Raster Layer, name it Frame Background, and flood fill with black and, with your new circle still selected, apply Tramages> Tow The Line with these settings

Select None and Delete the Glitter Circle
Make visible your hidden CU, arrange layer above Frame Background and apply Xero>Radiance, default settings and Duplicate and lock these 2 CU layers together. On your first CU, change Blend Mode to Luminance (L) and Opacity to 50%; 2nd CU, Blend Mode: Normal, Opacity to 37%.
Frame: c&p, resize 90%, Duplicate. Name them (from bottom up) frame 1 and frame2. Apply Gradient Glow to frame1; I used the color black and use these settings.

Position your CU layers to your liking within the frame and Merge Down your 1st CU onto you Frame Background and then merge your 2nd CU layer down. Keep your Frame Background layer active and grab your Freehand Selection Tool set to these settings
Go around your frame and select the parts of the frame background that you want to show. Mine looked like this

Select>Invert and hit Delete on the keyboard.
Desaturate your Oval: Adjust>Hue and Saturation>Hue/Saturation/Lightness

With your Manual Color Corrector, choose a medium shade of the gray in your oval for the Source color and choose a color of your choice for the target (I used #401b57)
Select the Rectangle from your template and, with your Magic Wand, click on the transparent area around it. Open a paper of your choice, c&p and hit Delete on your keyboard.
I used the same paper for my right and left rectangles. If you choose to do the same, you can cut down on your work by just arranging one above the other and merging the 2 layers together, click on the transparent area with your Magic Wand, c&p a paper of your choice and Delete
Wire: c&p, resize110% position to top left, arrange this layer down between your Frame Background and your Rectangle, Duplicate, Flip, Mirror, Merge Down with 1st wire layer.
Cross: c&p, Resize 75%, Image>Free Rotate: rotate right 25o, Sharpen: Adjust>Sharpness>Sharpen
Beads: c&p, Desaturate and, using you Manual Color Corrector, change to a color of your choice.
Stars: c&p, Resize 70%, Flip and position to liking, arrange layer below your frame1 layer.
Glitter: c&p. position, arrange layer above above Star Background layer, Duplicate Mirror, Flip, Merge Down with 1st glitter layer. I added a drop shadow with these settings

Star: c&p, position to you liking, Duplicate and Resize 75%, position and Duplicate again and position to your liking
Tattoo5: c&p, Resize 75%, Mirror, dsb flux 43
Ribbon3: c&p, Mirror, position and arrange layer to your liking
Main Tube: c&p, Duplicate, Apply Xero Radiance to the duplicate layer using the default settings, reduce opacity to 50% , merge down to main tube.
Name: I used 2 colors from my ribbon; the lightest color for my Foreground and the darkest color for my Background and these settings.

Free Rotate (Ctrl+R) the name vector 35o to the right and position.
If you are saving as a WWO, save your name vector as a vector; duplicate it and Convert To Raster, Select>All, Select>Float, Select>Defloat, Selections>Modify>Expand = 2, open New Raster Layer below your name layer (name it Name Outline, if you would like) and flood fill your selection with black (or another color, if you choose). Select None and Apply Gradient Glow, change color to black (or to match the color of your outline) and use these settings

I added a Drop Shadow to make it pop out a bit more…
Add the copyright and your license number (FYI: I always try to place this in an area so that it can not be cut out or altered without being obvious)
If you are not going to animate, add dsb flux>Bright Noise to the name

Add Drop Shadows to your liking crop and resize
If you do not know how to resize a multiple layer image, select Resize as you normally would, click on Advanced Settings and use these settings

Delete the white background, merge visible and save as a .psp, if saving as a WWO or a .png if not saving as WWO
Animation
If you are adding Drop Shadows to anything that you are animating with Constellation, make sure you do this BEFORE adding the animation and check the box Shadow on new layer; like this

Now, make Visible Only the layers between the each layer that you are going to animate, including the Drop Shadows for that animated layer and Merge Visible. Your Layers Palette should look like this

**Note that none of the name layers are included because I always save my image so that I can go back and add another name at any time
Duplicate Frame2 2x, activate your first layer and apply dsb flux with these settings
Repeat (Ctrl+Y) for the 2nd and 3rd layers, clicking on mix 2x for each layer.
Activate Frame1 again and apply Constellation with these settings

Repeat (Ctrl+Y) for the 2nd and 3rd layers, clicking on Random Seed for each layer.
Duplicate the Cross 2X, activate your first layer and apply Constellation with these settings
Repeat (Ctrl+Y) for the 2nd and 3rd layers, clicking on Random Seed for each layer.
Duplicate Tattoo5 2X and apply Constellation with the same settings, clicking on Random Seed for your 2nd and 3rd layers
Now, duplicate your merged layers 2x and make Visible Only the 1st layer of each group like this (note that mine does not include the name layers because I save as a WWO)

Activate your 1st visible layer, as you see in the screen shot above, right click on it and scroll to Merge>Merge Visible, make your merged layer invisible and repeat the same steps for the remaining 2 layers in each group. You Layers Palette should now look like this, I included the drop shadow on the name outline, on a separate layer, for reference (forgot that I could save the shadow settings...LOL)

This is where I save as a .psp for WWO’s
Activate your name layer Select>All, Select>Float, Select>Defloat, Merge Down with your outline layer and Drop Shadow (if you have one and if it is on a separate layer); Duplicate 2x. Activate your first layer and apply Bright Noise with the same settings
Repeat (Ctrl+Y) for the 2nd and 3rd layers, clicking on mix 2X for each layer.
Select>None.
Merge each name layer with its corresponding merged layer
Resize image to your liking and either save as a .psd or a .psp (animation shop) and open in AS3; or you can copy and paste your layers over into AS3, starting with your first layer and then paste the 2nd and 3rd layers After Current Frame.
Edit>Select all (Ctrl+A), Animation>Frame Properites (Alt+Enter):13, Optimize (Shift+Z)
©X's & O's Dzynz and Tutorials
This Tutorial was written in March, 2011 by me, MsGoddess2U, and the concept of the tutorial is copyrighted and registered with TWI.
No comments:
Post a Comment