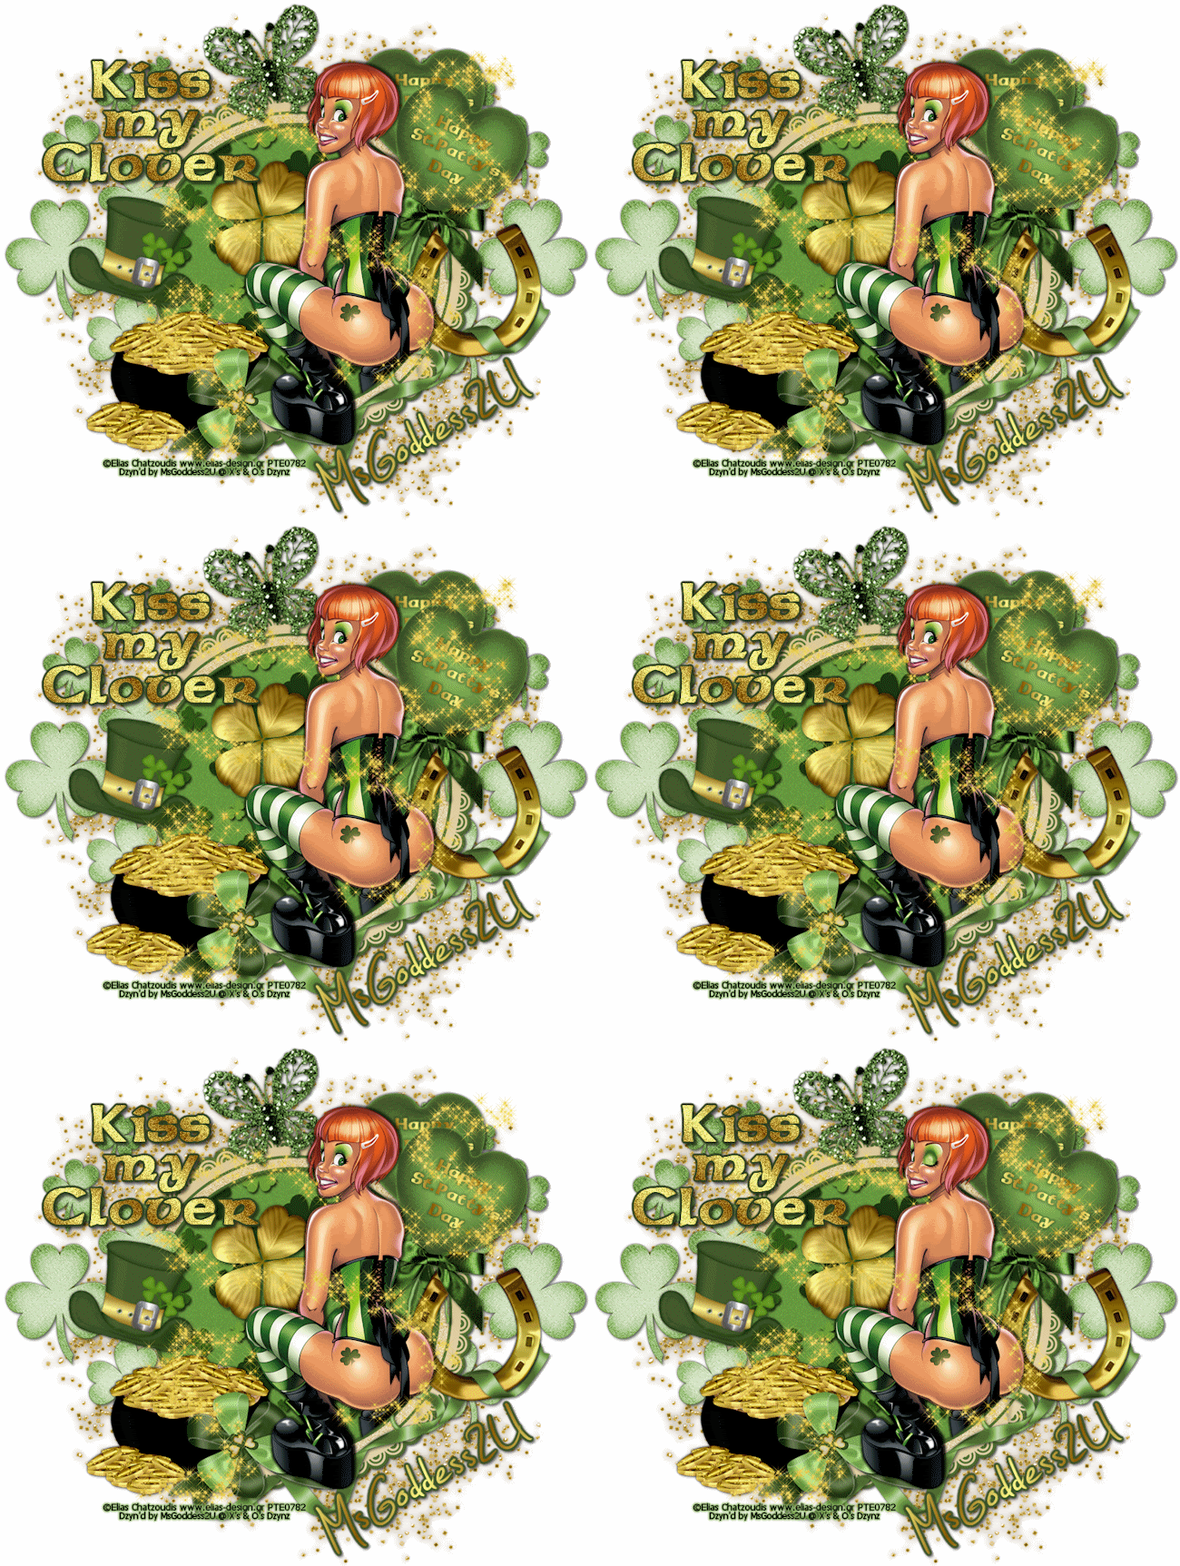
Kiss My Clover
(wink not included)
Inspired by one of my Divas, cupcakevixen
I am using the awesome art work of Elias Chatzoudis. You must have a license to use his work and you can purchase the tube and obtain your license at PTE
PTU Kit: I am using a fabulous kit called Clover Girl and you can purchase it at Dreams-N-Digital
Word Art is mine and you can grab it here
Fonts used:
Celtic
Jellyka_Estrya’s Handwriting
Plug ins Used:
Xenofex / Constellation
dsb flux / Bright Noise
Eye Candy 4000/ Gradient Glow
Celtic
Jellyka_Estrya’s Handwriting
Plug ins Used:
Xenofex / Constellation
dsb flux / Bright Noise
Eye Candy 4000/ Gradient Glow
**c&p=Copy and Paste As New Layer
**When working with duplicate layers, I always refer to them as first, second, third…from the bottom up
Open the Word Art first and change the canvas size to 900X900. I already have these layers locked so you can move them to where you want them. Almost everything that you add to this image will be below your word art
Open a New Raster layer and move it to the bottom and flood fill with white; keeping this layer active,
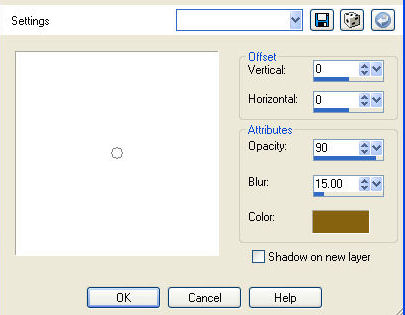
Open glitter2: c&p, resize110%, Adjust>Sharpness>Sharpen, Duplicate, Merge Down, Duplicate again and merge down again (this will just make your glitter a little bolder)…now, apply Drop Shadow set to this color #866211 and these settings
Open paper of your choice (I used p6), c&p as new layer above glitter2 layer
Frame4: c&p, apply Gradient Glow, under the Color Tab: select Fat, change the Color to: #4a6a2e on both of the color boxes; under the Basic tab, these settings
With your magic wand, select the transparent area within your frame and expand your selection by like 10 pixels, invert selection, activate your paper layer and hit delete on your keyboard
Activate your frame layer; Open clover: c&p, mirror, position to the left of your frame, slightly overlapping your frame, Duplicate, mirror and arrange the duplicate layer down to just above your glitter2 layer
Activate your frame layer again
Open balloons: c&p, resize 75%, mirror, position to your liking
Text on balloons: font Celtic, size: 20, leading: 0.350, set your foreground color to #ffff8b, background to #8b5901, select foreground/background gradient and set the Angle: 283o, Repeats: 3, Rotate 25o right, Convert to Raster, Apply Gradient Glow: Under the Color tab, select Diffuse and change the color to black, under the Basic tab, use these settings
Duplicate and rotate 25o left. Position the second layer over the balloon in the back
Activate your balloon layer and, with your magic wand set to these settings
Click on the outer, dark part of your front balloon. My selection looked like this
Activate your second text layer and erase all the text in the selected area, Select None and finish erasing the text that is overlapping the front balloon
Butterfly: resize 80%, rotate 15o left, position to liking
Hat: resize 65%, rotate15o right
Bow: resize 80%, rotate 10o right
Clover4: resize 75%
Ribbon4: resize 80% rotate 65o
Horseshoe: resize 36%, position over ribbon4, we are going to wrap the ribbon around the bottom of the horseshoe
Duplicate ribbon4 and arrange the layer above the horse shoe, name this layer ribbon wrap.
Activate your horse shoe layer, Select>Select All>Select Float>Select Defloat
Activate your second ribbon layer (above the horseshoe) and erase the parts of the ribbon that you don’t want covering your horseshoe, Select None and erase the remaining parts of the ribbon that you don’t need.
Apply drop shadows to your first ribbon layer and to the horseshoe and make sure that you check the box Shadow on new layer just below your color box. I add shadow both directions so if you do this, you want to merge your shadows so that you only have one shadow layer for each element. We need to copy parts of these shadows to give your wrap a 3D look…lock all of these layers together
Activate your horseshoe layer: Select >Select All>Select Float>Select Defloat
Activate your ribbon shadow layer and copy
Activate your horseshoe layer and open New Raster layer, under Edit, scroll down and select Paste Into Selection. Erase the parts of your shadow that you don’t want…you want your eraser to have a soft edge. I used these settings
Check your ribbon edges that are above your horseshoe layer and, if necessary, clean up with the eraser so that the shadow of the horseshoe shows over your ribbon in behind or you can repeat the above steps the opposite way to get your shadow over the ribbon
potofgold: resize 75%
Coins: resize 40%, sharpen, position over pot of gold, duplicate and mirror and then duplicate both and position around to your liking…merge gold coins and potofgold and resize again 95%
Bow2: resize 75%
Activate your main tube layer
Open Sparkles2: c&p, mirror and position over main tube
Activate your main tube layer, Select>Select All>Select Float>Select Defloat
Activate your sparkles2 layer and erase parts of the sparkles so that it appears to wrap around the main tube, Select None (No drop shadow on sparkles)
Apply drop shadows to liking
Add copyright and license info
Make your sparkles2 layer and your Kiss My Clover Word art layers, invisible, merge visible
Make your sparkles2 layer visible and Desaturate.
Using your Manual Color Corrector, change your Source to this color #aeaeae and your Target to this color #e6ca52, click OK, Adjust>Brightness and Contrast>Brightness/Contrast with these settings Brightness:10, Contrast:0, click OK and Duplicate layer 2X
Activate your first layer and apply Constellation with these settings
Repeat for the second and third layers, clicking on random seed for each of them
Make the 3 Word art layers visible and activate the one named Word Art
Select All>Select Float>Select Defloat, Merge Down 2X so that all of your Word Art is one layer and Duplicate that layer 2X.
Apply Bright Noise with these settings
Repeat on the 2nd and 3rd layers clicking on mix 2X for each layer
Select None
Name: I used the Jellyka font, same colors and gradient settings as you did with the text on the balloons but change the Angle to 278o
Set your Kerning to 25
Rotate your name vector 30o left, Convert To Raster
(I love Gradient Glow for the outline, so you see this in my tuts a lot for the name outlines)
Apply Gradient Glow…select fat under the Color tab and change both the color boxes to #3c552a and use these settings under the Basic tab.
Add Drop Shadow if you desire and merge with your name layer
Now, Duplicate your merged layer and your name layer 2X.
Make Visible Only the first layer of each group and activate the first visible layer and Merge Visible, make this layer invisible and repeat the same steps for your second and third layers…
Make Visible Only the first layer of each group and activate the first visible layer and Merge Visible, make this layer invisible and repeat the same steps for your second and third layers…
Mine is going to look a little different than yours because I have the wink and mine is actually 12 layers
Either save this as a .psd or a .psp(animation shop) file and open in AS3 or Copy and Paste your layers over into AS3, Select All, Frame Properties:13, Optimize
©X's & O's Dzynz and Tutorials
This Tutorial was written in March, 2011 by me, MsGoddess2U, and the concept of the tutorial is copyrighted and registered with TWI.


No comments:
Post a Comment