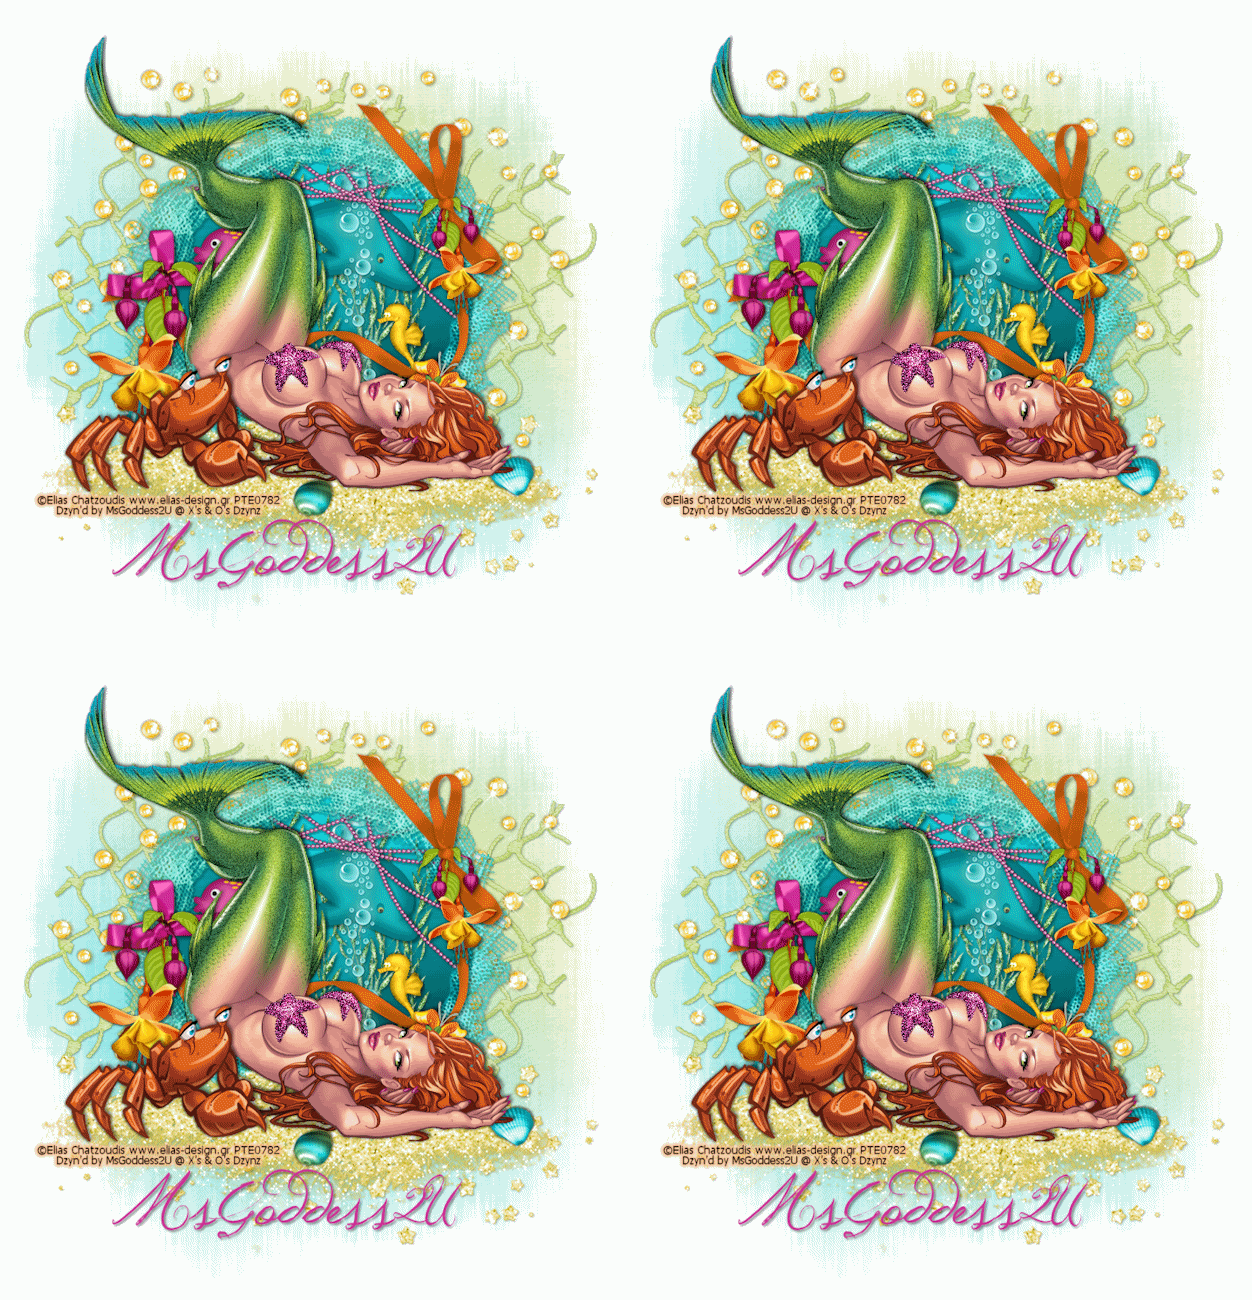
I wrote this tut using PSPX2 and Animation Shop 3.
This tut is written for those with a working knowledge of PSP and AS3 (I do try to write them in a way that, those of you who are new, can understand and follow them too).
I am using the awesome artwork of Elias Chatzoudis. You must have a license to use his work and you can purchase his work and get your license at PTE
I am using an absolutely darling kit by Tamie called Hermione and you can purchase it at Dreams-N-Digital
The Mask I am using is WSL_Mask39 from weescotslass creations
Plug-ins Used:
dsb flux / Bright Noise
Xenofex 2 / Constellation
Font Used:
Jellyka Western Princess
**c&p=Copy and Paste As New Layer (I almost always c&p as a top layer so I can see what I’m doing, then arrange the layer where I want it)
**When working with duplicate layers, I always refer to them as 1st, 2nd, 3rd…and so on, from the bottom up.
Remember to save often!!
Open a New Image at 750 X 750 and flood fill with white
Now open your mask, Duplicate ((Shift+D), close original and crop it so that you are just at the edges of the white, like this
From Tamie’s Darling Hermione Kit
P11: c&p, Resize 105%, Right click on the paper layer, over in the Layers Palette, and scroll up to New Mask Layer>From Image, and choose your mask from the drop down menu, like this…
(I saved mine as Cropped Mask just for this tut so that you would understand it better and NOT save any changes that you made to the original mask)
Now grab you Pick Tool, set to Scale, make sure that your mask is the layer that is active in the group and just bring the corners in a little at the top left and bottom right. Right click on one the layers in the group and scroll to Merge>Merge Group. Reduce Opacity to somewhere around 50% or to your liking.
Frame3: c&p, Resize 80%, I added a light Drop Shadow to the frame, on a separate layer
Main Tube: c&p, position to liking, Duplicate the frame and arrange the 2nd layer just above your main tube. Activate the tube layer, Select>All, Select>Float, Select>Defloat. Activate the 2nd frame layer and grab your Eraser tool with these settings
and erase all the parts of the frame that you don’t want covering the tube, Select>Invert, erase the remainder of the frame; lock these 3 layers together; your 1 frame layer, main tube and frame over lay. In fact, since you can’t see anything on that layer in the layers palette, it might be a good idea to name that layer Frame Overlay.
Crab from Elias tube set: c&p above the Frame Overlay layer and position to liking.
More from Tamie’s Kit
Net: c&p, position to the left, Duplicate, Mirror, Flip and position these 2 elements to your liking, arrange above the mask layer. Do not merge them together; you might find that you want to move them around as we go along.
Beads2: c&p, arrange to liking to the left (I erased the one bead that was at the top), Mirror, Flip. position these 2 layers to liking and arrange just above the net layers; again, I would not merge these layers yet. You may want to move them around as we go along)
Activate your 2nd beads2 layer
P12: c&p, Resize 60%, activate your frame layer, with the Magic Wand at these settings
Click on the area outside of the frame, Select>Modify>Feather = 40, activate the p12 layer and start hitting delete on your keyboard until you are satisfied with how it looks behind the frame (I think I hit delete something like 40 times). Lock this layer to the frame too.
You may want to reduce the opacity of your main tube now so that you can work behind it and see what you are doing. You will have to make it invisible to move anything that is below/ behind it.
Seaweed: c&p, Resize 50%, position to liking above the p12 layer,within the frame, Duplicate, Mirror, position to liking, within the frame.
Seahorse: c&p, Desaturate (Adjust>Hue and Saturation>Hue/Saturation/Lightness)
Using the Manual Color Correction Tool set your Source: #616161, Target: #fbc723
Mirror, Resize 25%, position to liking and arrange layer just above the seaweed
Dolphin: c&p, Resize 40%, position to liking and arrange layer above seahorse
Fish: c&p, Resize 30%, position to liking and arrange layer to liking within these last few layers
Bubbles2: c&p, Resize 70% position to liking and arrange to liking, again, within these last few layers (I put mine above all these layers)
Beads: c&p, Resize 50%, arrange just below your frame layer
Glitter: c&p, Resize 120%, Mirror, arrange above your frame layer (I erased a couple of stars that were outside of my desired dimensions)
Shell: c&p, Resize 25%, position to liking, arrange above glitter layer
Shell2: c&p, Resize 25%, position to liking, arrange above shell layer
Ribbon4: c&p, resize 80%, Mirror, position to liking, arrange above the glitter layer
Bow: c&p, Resize 60%, Rotate 45o Left, position to liking and arrange above the ribbon layer
Flower: c&p, Duplicate, Mirror one and Resize it 60%, position over the knot in the bow; Resize the other one 40% and position over the knot in ribbon4.
Now, duplicate the bow and ribbon4, lock each of the duplicates with it original element (but make sure that you do not lock them all together) and arrange the duplicate layers above the flower that is over it.
Grab your Eraser; we want just a slightly soft edge to it so use these settings
and erase everything but the top part of the knot, like this
I also added a very slight drop shadow to these knot overlays (V & H = 0, Opacity = 25. Blur = 3)
You may have to move your flowers around to get them the way you want them. Once you have the flowers positioned to your liking, lock them with their corresponding ribbon/bow and the knot overlay.
Now, we are up to the main tube; if you have reduced the opacity or made it invisible, you want it visible at 100%
Name: Choose a color of your choice for the background color and make your foreground invisible. Type out your name and position it to your liking. Convert to Raster.
OK…we are getting ready to add the animation. If you want Drop Shadows on the beads2 or the glitter, make sure you have your beads where you want them, Merge them together add the Drop Shadows now on a separate layer
You can add Drop Shadows, on the same layer, to any layers that are not animated. So, you just un-check the box that is circled in the above screen shot
Add the copyright and your license #. I suggest that you place it in a way that it can not be removed or altered without being obvious
Animation
Grab your Magic Wand with these settings
Select the Starfish on your main tube like this
Right click on the layer, in the layers palette, and select Promote Selection To Layer, Select>None, Name the layer Starfish, Duplicate 3X, activate the 1st layer and apply Bright Noise with these settings
Clicking on Mix 2X for the 2nd through the 4th layers
Grab your Magic Wand and change your settings to:
Select all of the tail like this
(it may take quite a few clicks to get it all)
Follow the same steps as you did for the starfish but name the layer Tail and apply Bright Noise with these settings
Clicking on Mix 2X for the 2nd through the 4th layers
Grab your Magic Wand again and change the settings to:
Activate your merged beads2 layer and select the parts of the beads that you want to sparkle (I selected the white parts), Merge Down all the way onto the white background, Duplicate 3X, activate the first layer and apply Constellation with these settings
Clicking on Mix 2X for the 2nd through the 4th layers
Now merge together all the non animated layers that are between the animated layers and your layers palette should look like this.
(you’ll have to excuse some of my layer names…that’s how I keep track of what I do)
**Note that this screenshot does not show the name layer because I make my designs as a WWO and I have found that it is less confusing to add the name, after I have merged all my layers
You can add your name and convert it to a raster, position to liking, add a Drop Shadow, if you would like and merge it with your crab and copyright layer
Now, Duplicate all of your non-animated layers 3X so that you have 4 layers of everything.
Activate your 1st background layer (the very bottom layer in your layers palette), right click, View>Current Only
Now, make ONLY the 1st layer of each group visible, right click on your visible background layer, Merge>Merge Visible.
Make this merged layer invisible and make the next layer in each group visible, right click on your visible background layer, Merge>Merge Visible make this layer invisible and repeat these steps for the 3rd and 4th layers
View>All, Crop, Resize to your liking and save as a .psd or .psp (animation shop)…I always save as a .psd and a .pspimage (for the WWO’s)
If you are saving as a WWO, you know what to do…if you don’t, refer back to one of my earlier tuts
Animation Shop 3
Open your image in AS3, Select>All (Ctrl+A), Frame Properties (Alt+Enter) and change the value to 13, hit Enter on the keyboard. and Optimize (Shift+Z)
Now see…wasn’t that one a lot more quick and easy??
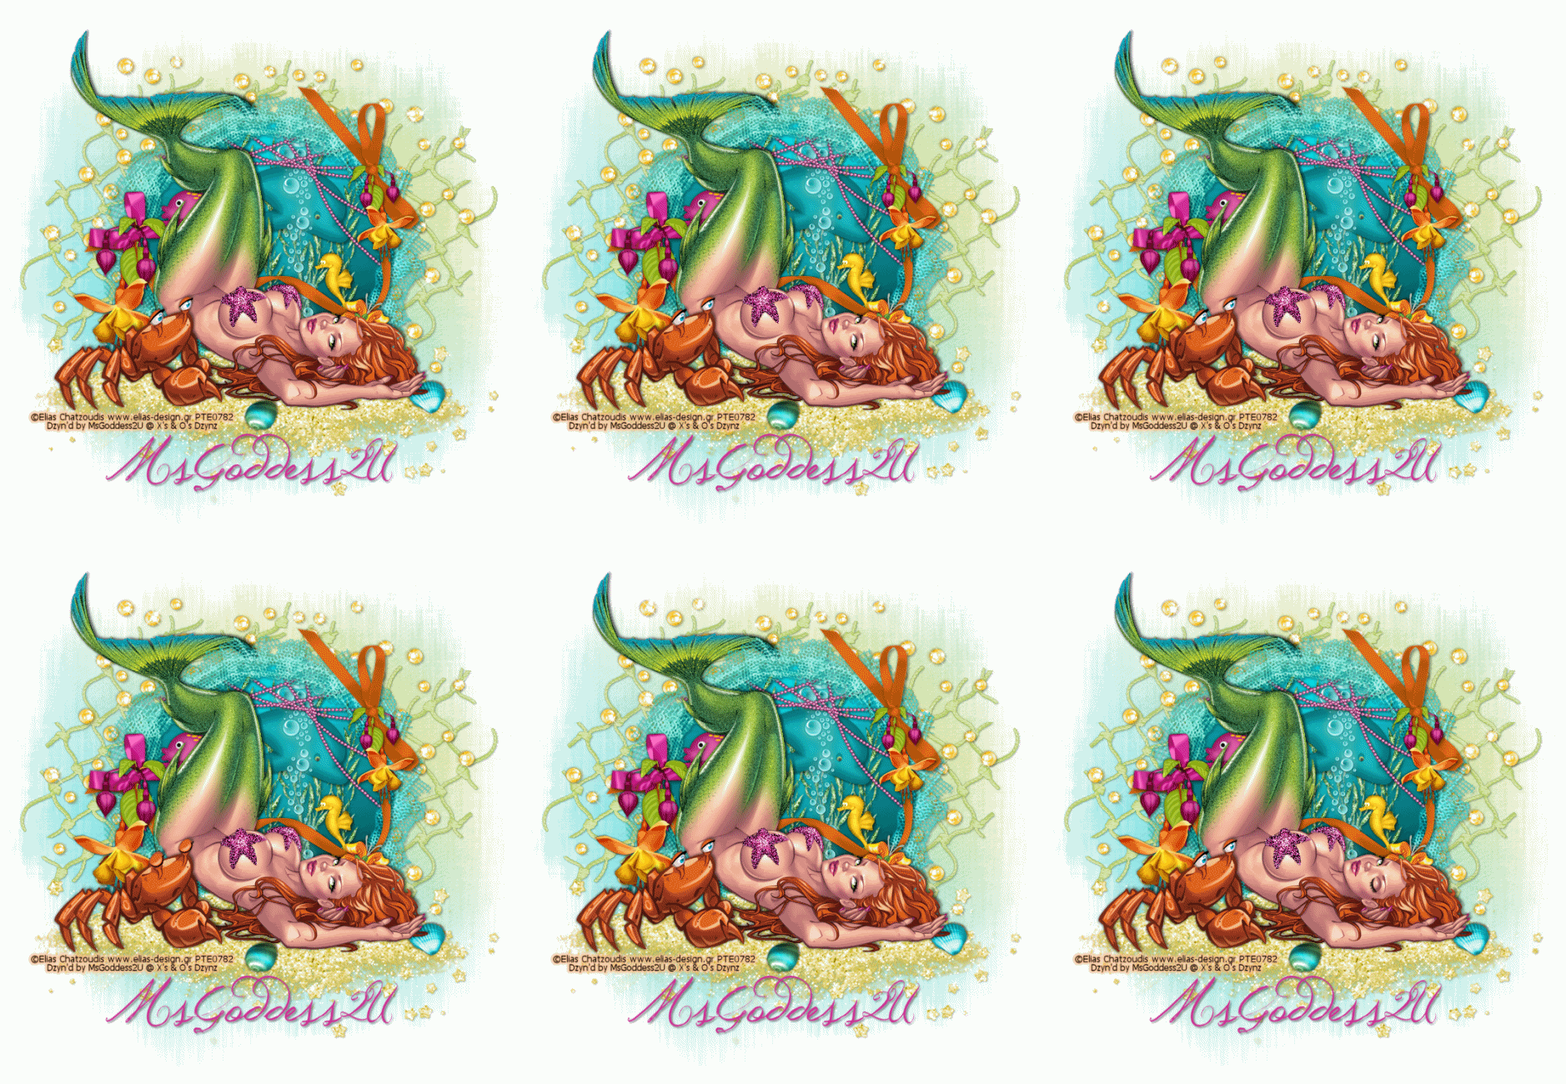
I took it a few steps further and made this (which is also registered with TWI)
I would love to see your version or results of my tut and would like to add them to my blog. Feel free to email them to me; just make sure that you put “tut results” or something to that effect, in the subject or I will delete it without opening it
©X's & O's Dzynz and Tutorials
This Tutorial was written in August, 2011 by me, MsGoddess2U, and the concept of the tutorial is copyrighted.
See my TOU for further details
See my TOU for further details


No comments:
Post a Comment