

I wrote this tutorial using PSPX2
I am using the awesome artwork of Elias Chatzoudis. You must have a license to use his art and you can purchase the tube and get your license at PTE
I am using another awesome kit by Tamie called Independant Woman and you can purchase it at Dreams N Digital
Word Art by me here
Sparkle Sheet by me here
Plug ins used:
dsb flux / Bright Noise
Eye Candy 4000 / Gradient Glow
Xero / Radiance & Porcelain
Font Used:
Qhytsdakx
**c&p = Copy and Paste as New Layer
**When working with duplicate layers, I always refer to them as 1st, 2nd, 3rd…from the bottom up (in this case, only 1st and 2nd)
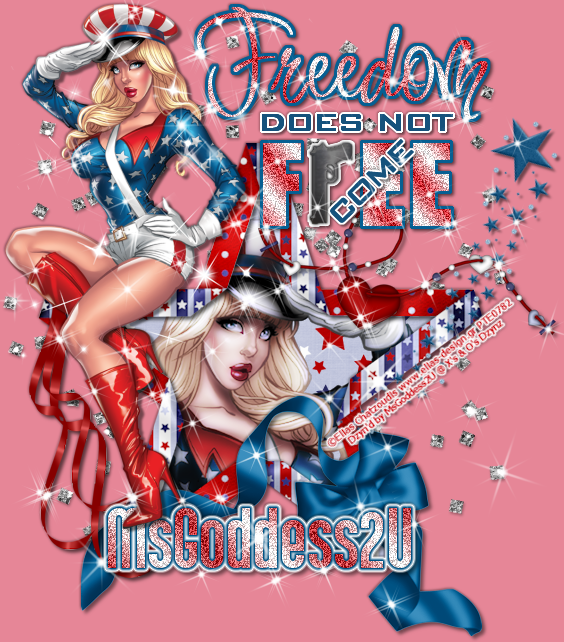
After the last one, this is one going to be short and sweet and non-animated…PLEASE DO NOT FAINT…LOL! Actually, this came at a perfect time. This week’s Diva requested non-animated and I am animated out for the moment
Open my Word Art, Resize Canvas to 600 X 650, selecting the top right for Placement
like this

The word art is all locked together so you can position it to your liking later
Tubes: c&p the CU and then the main tube
From Tamie’s Kit
Activate the transparent background
Glitter: c&p
Star frame: c&p above the CU layer, Resize 75%
CU: Mirror, Resize and Position to your liking
Activate the star frame and, with your Magic Wand, click on the inside of the frame, expand the selection (Selections>Modify>Expand) = 4, Invert (Selections>Invert)
Activate the CU and hit Delete on your keyboard; DO NOT SELECT NONE
Open a paper of your choice from Tamie’s Kit, c&p above the glitter layer, hit Delete
Select>None
Lock the paper, CU and frame together. The word art is all locked so, the lock number for these 3 will be 2.
Duplicate the CU, Desaturate the 1st CU
(Adjust>Hue and Saturation>Hue/Saturation/Lightness)

Activate the 2nd CU and apply Xero/ Radiance with the default settings then apply Xero/Porcelain with the default settings and reduce opacity to 75%
Beads2: c&p, Resize 50%, position to liking, arrange just above the star frame
Ribbonbow: c&p, Resize 75%, Mirror, position to liking, I changed the color a little; Desaturate, Manual Color Correction Tool Source: #636363 Target: #045e91, arrange above the beads layer
Ribbon2: c&p, Resize 60%, position to liking, arrange layer above ribbonbow layer
Stars2: c&p, resize 60%, Mirror, Rotate 20o Left, position to liking, arrange layer above ribbon2 layer
Name: In your Materials Palette, set you Foreground to white and Background to #b61e24. Open your Background options and choose the Foreground/Background Gradient; Angle: to49o Repeats: 5, Invert box is ticked (Don’t know why…lol). Type out the name that you want; my name is particularly long so I arranged the layer just below the main tube and shadow.
Convert to Raster apply Bright Noise with these settings

Then apply Gradient Glow with these settings;

Under the Color tab select fat, change your first color in the bar to #005282, then left click on your little color box below your color bar and pull a second one out a little to make the blue stronger; then, extend your white box out a little.
Under the Basic tab, use these settings

Apply Bright Noise to the Freedom and the F_EE layer, using the same settings as on the name.
Find a good place for the copyright info and your license. I applied a Gradient Glow AND a Drop Shadow, to make it move visible
Now, if you have a colored background or any solid background at all, Delete it, Merge Visible, Crop and resize to you liking and save a .png. If you would like to go back and add a name, make sure that you save a copy of the name as Vector. I merged all my layers above the name vector and all of the layers below it, giving me only 3 layers.
We are done…I told you this would be short and sweet;)
Not sure how many of you will like this. I posted it as a WWO in my group and only got one person requested it and I think that request was out of pity...LOL…JK, Girl;) (Kinda…LMAO)
Sorry, I’m posting this late. We had an emergency with my little one.
©X's & O's Dzynz and Tutorials
This Tutorial was written in July, 2011 by me, MsGoddess2U, and the concept of the tutorial is copyrighted.
See my TOU for further details
See my TOU for further details
No comments:
Post a Comment